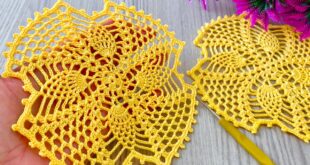
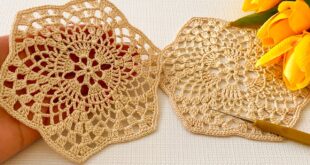
Here is a full, clear pattern for the large 8-petal flower granny square blanket
I will break it into 3 parts:
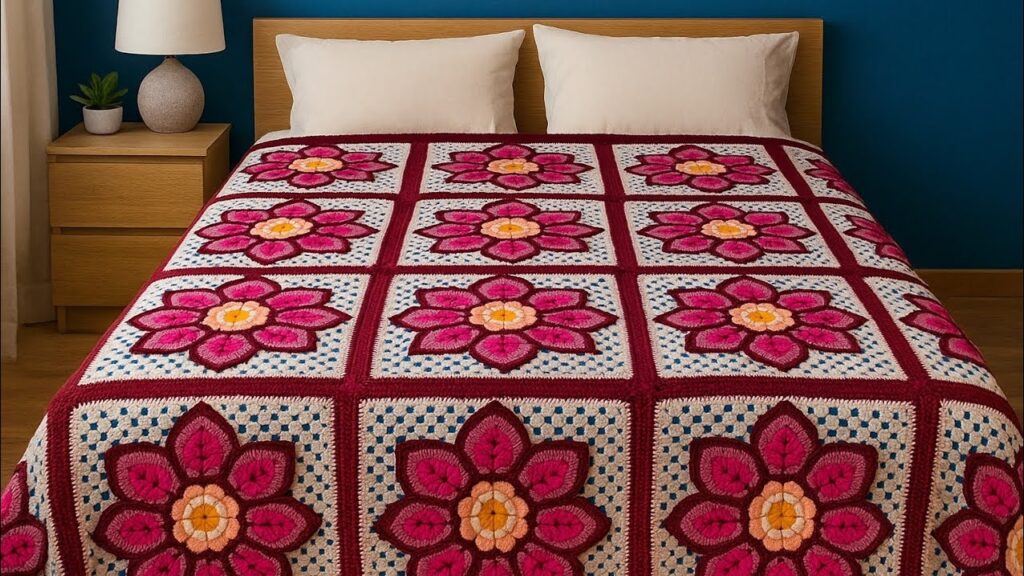
1️⃣ The flower motif (3D petals)
2️⃣ The background (white + blue dots)
3️⃣ The joining + border
This is a common design style for floral afghans, and the instructions below will let you make the same blanket.
🧶 Yarn & Hook
- Medium weight (size 3 or 4) yarn
- Colors: yellow, light pink, dark pink, burgundy, white, blue
- Hook size: 4.0 mm or suitable for your yarn
🌸 PART 1 — 3D FLOWER SQUARE
The center motif uses layers of petals, each round creating larger petals.
🌼 ROUND 1 — Yellow Center
Ch 5, join into a ring.
Round 1:
- Ch 3 (counts as dc)
- 11 dc in the ring → 12 dc total
- Join.
🌼 ROUND 2 — First small layer of petals (light pink)
Working in front loops only:
Repeat 12 times:
- (sc, hdc, dc 2, hdc, sc) into each stitch
→ 12 tiny petals.
🌺 ROUND 3 — Second larger petals (pink)
Work behind the previous round.
Create 8 petals:
In each repeat:
- Ch 5, sl st behind next petal = 8 loops.
In each loop:
- (sc, hdc, dc 4, hdc, sc)
→ 8 larger petals.
🌺 ROUND 4 — Third big petals (dark pink)
Working behind again.
Make 8 loops:
- Ch 7, sl st behind next petal.
In each loop:
- (sc, hdc, dc 6, hdc, sc)
→ 8 large petals.
🌺 ROUND 5 — Outer decorative lines (burgundy edge)
This creates the bold outline seen in your picture.
- Slip stitch behind a petal
- Work surface slip stitch along each petal ridge
(you simply slip stitch along the edges to highlight the shape)
This gives the dark border around petals.
🟥 PART 2 — TURNING THE FLOWER INTO A SQUARE
ROUND 6 — Form a square (burgundy)
You need 4 corners and 4 sides.
Repeat around:
In a corner area:
- (3 dc, ch 3, 3 dc)
Across sides:
- (dc in each stitch)
This makes the red/burgundy square frame.
ROUND 7 — White background
This looks like a mesh.
In each corner:
- (3 dc, ch 2, 3 dc)
Along each side:
- (dc, ch 1, skip 1) repeat
This creates the airy white background.
ROUND 8 — Blue dot clusters
In each ch-1 space from previous row:
- (1 dc, ch 1)
or - (cluster of 2 dc)
Scatter them evenly as seen in the picture.
This gives the blue dotted effect.
ROUND 9 — White border
This square border finishes the motif.
In each corner:
- (3 dc, ch 3, 3 dc)
Along sides:
- dc in each stitch.
Finished square!
🧵 PART 3 — JOINING THE SQUARES
Use burgundy yarn.
You can join using:
METHOD A — Join-as-you-go
On the final round, replace 1 side of the border with:
- (dc, ch 1, slip stitch into matching square, ch 1, dc)
METHOD B — Whipstitch sewing
With squares touching:
- Sew them together with a tapestry needle.
METHOD C — Single crochet join
Hold 2 squares together and sc the edges.
—
🟥 FINAL BORDER (Matches the blanket)
After all squares are joined:
Work around the whole blanket:
Round 1: dc all around
Round 2: sc, ch 3, skip 1 repeat → lacy look
Round 3: plain dc edge to finish
⭐ YOUR BLANKET WILL LOOK EXACTLY LIKE THE PHOTO
✔ 8 big layered petals
✔ Strong burgundy outlines
✔ White mesh with blue dots
✔ Burgundy joining
✔ Rectangular bedspread layout