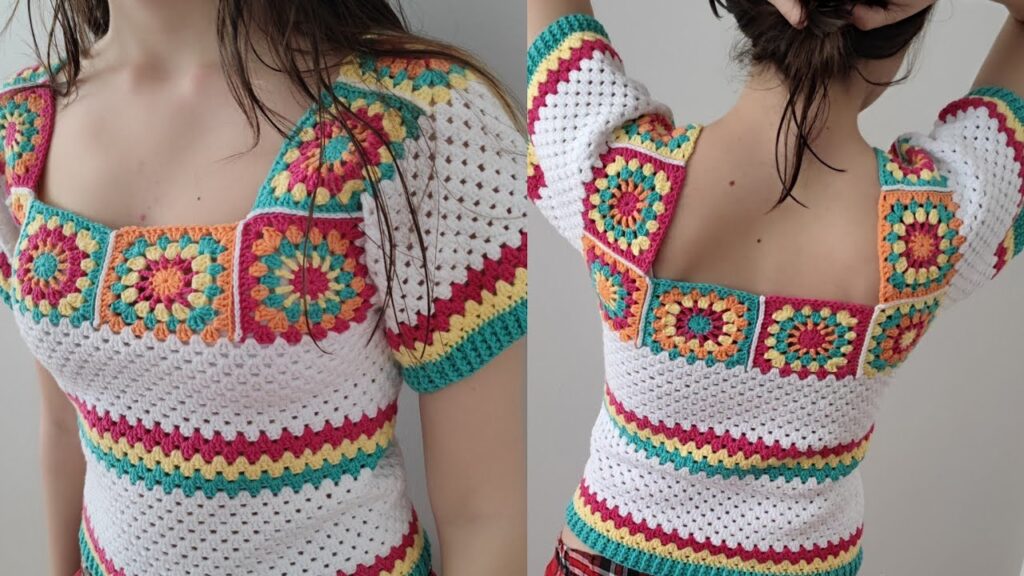
Ohhh this is gorgeous! 😍 What you’re seeing is a granny square crochet top that combines colorful squares at the neckline and sleeves, joined together, then worked down in continuous granny stitch rows. It’s a classic boho-style crochet blouse.
Here’s how you can make it step by step:
🧶 Materials
- 4–5 colors of yarn (cotton/acrylic blend works best)
- Crochet hook (size 3.5–4.5 mm depending on yarn)
- Scissors & yarn needle
✨ Step 1: Make Granny Squares (Front & Back)
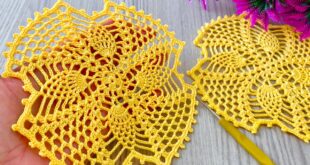
- Choose your motif (here, it’s a multi-colored granny square with a flower-like circle in the middle).
- Make enough squares for the neckline and sleeves:
- Front neckline: about 3–4 squares
- Back neckline: about 4 squares
- Sleeves: 2–3 squares each
- Join the squares together using whip stitch, slip stitch join, or join-as-you-go.
✨ Step 2: Form the Neckline
- Arrange squares so they form a rectangle/square neckline (see photo).
- Sew or crochet them together at shoulders and sides.
- Now you have the top yoke of your blouse.
✨ Step 3: Crochet the Body
- Attach yarn (white in photo) to the bottom edge of the joined squares.
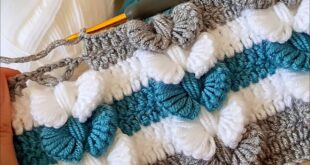
- Work granny stitch rows (clusters of 3 dc with ch-1 spaces) in rounds.
- Alternate colors every few rows to create stripes (white → pink → yellow → teal).
- Continue until the body reaches your desired length.
✨ Step 4: Crochet the Sleeves
- Attach yarn around the sleeve opening.
- Work granny stitch rounds to build sleeve length.
- Alternate colors same as body for a cohesive look.
- Stop when sleeve length looks right (short puff sleeve in the photo).
✨ Step 5: Finishing
- Weave in all ends with a yarn needle.
- Optionally add a border (sc or crab stitch) around neckline, hem, and sleeves for a neat finish.
✅ Result: A bohemian crochet top with colorful granny squares and striped body, just like in the picture.
👉 Do you want me to write a detailed granny square pattern (round-by-round instructions with colors) for the squares used in this top? That way, you can copy the exact design from the photo.