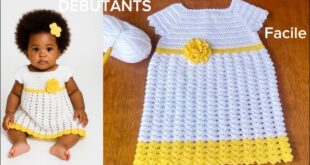
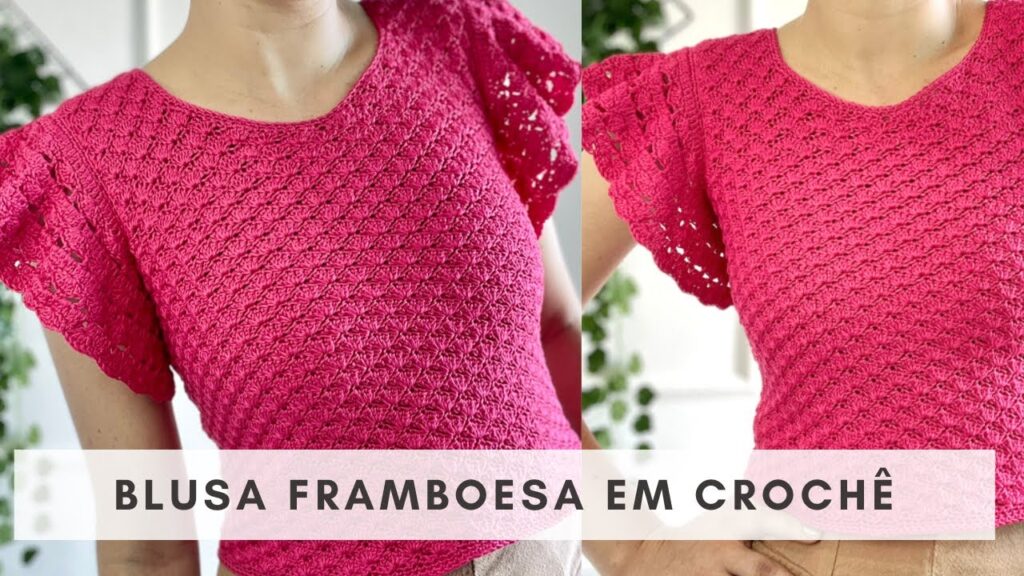
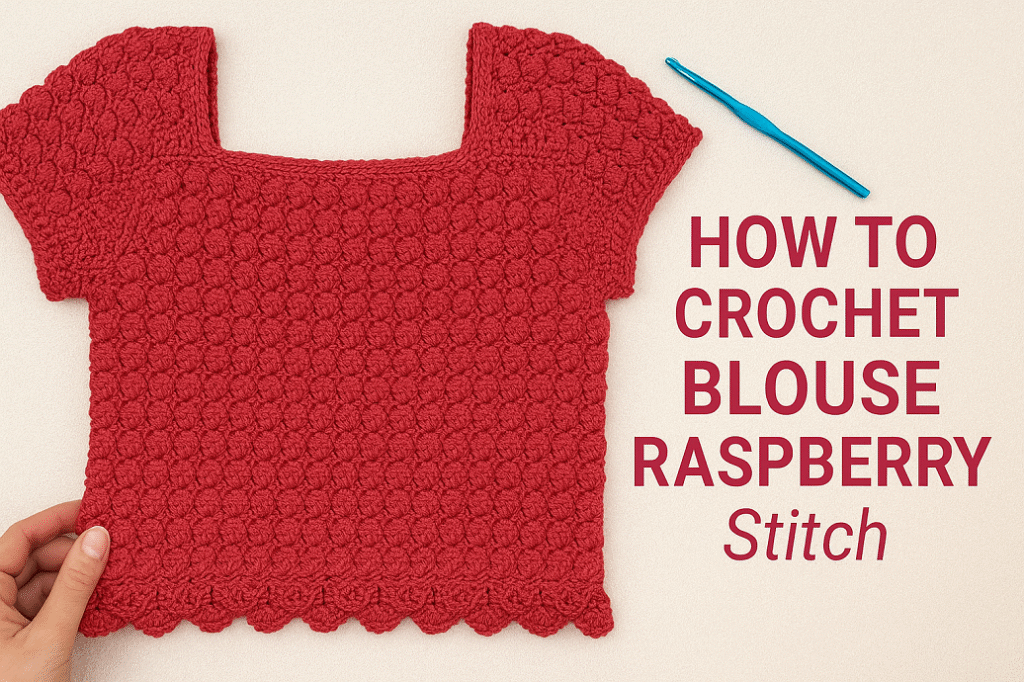
Crocheting a blouse using the Raspberry Stitch (also known as the Berry Stitch or Popcorn Stitch, depending on the variant) creates a textured, puffy look that resembles little berries or bumps. Below is a step-by-step guide to crochet a blouse using the Raspberry Stitch:
🧶 MATERIALS
- Yarn (lightweight cotton or acrylic recommended for wearables)
- Crochet hook (check your yarn label, typically 3.5mm–5mm)
- Stitch markers
- Scissors
- Tapestry needle
- Measuring tape
🧵 WHAT IS THE RASPBERRY STITCH?
Raspberry Stitch is typically worked as a series of bobble-like clusters that form a raised, bumpy texture. One common version is made using double crochet clusters or 5 half double crochets (hdc) together in one stitch.
Basic Raspberry (Berry) Stitch:
- Yarn over, insert hook in stitch.
- Yarn over, pull up a loop (3 loops on hook).
- Yarn over, pull through 1 loop (creates a chain).
- Yarn over, pull through all 3 loops.
👚 BASIC RASPBERRY STITCH BLOUSE – STRUCTURE
We’ll make a simple rectangular blouse made up of two panels (front and back) joined at the sides and shoulders.
🔸 STEP-BY-STEP INSTRUCTIONS
🟪 PART 1: SWATCH & MEASUREMENTS
- Make a gauge swatch in raspberry stitch (e.g., 10cm x 10cm).
- Measure your bust, add 5–10cm for ease.
- Determine how many stitches you need based on your swatch and your body size.
🟦 PART 2: CROCHET THE PANELS
🔹 Foundation Chain
- Chain the number of stitches for your desired width.
- Add 1 extra chain to turn.
🔹 Row 1 (Base Row)
- Single crochet (sc) in each chain across.
- Turn.
🔹 Row 2 (Raspberry Row)
- Chain 1, sc in first stitch, raspberry stitch in next stitch, repeat to end.
- End with a single crochet.
- Turn.
🔹 Row 3 (All SC)
- Chain 1, sc in each stitch across.
- Turn.
Repeat Rows 2 and 3 to create the full length of the blouse panel (typically from shoulder to waist or hip).
🟩 PART 3: JOINING PANELS
- Align front and back panels.
- Sew or crochet together the sides (leaving room for armholes) and shoulders.
- Use whip stitch or slip stitch for joining.
- Try on the blouse to check fit.
🟨 OPTIONAL SLEEVES
You can add sleeves by:
- Attaching yarn at the armhole.
- Working in the round using raspberry stitch.
- Decreasing slightly as you go for a tapered sleeve.
🟫 FINISHING
- Add ribbing at the bottom, neck, and sleeves if desired (e.g., sc or hdc ribbing).
- Weave in all ends with a tapestry needle.
- Block the blouse for a professional finish.
📹 VIDEO TUTORIALS (Recommended)
Would you like some video links or diagrams showing the Raspberry Stitch or blouse assembly? I can look up up-to-date resources for you.
Let me know:
- Your crochet level (beginner, intermediate)
- Blouse style preference (loose, fitted, cropped, etc.)
- If you want a pattern in a specific size or measurement
And I’ll tailor the instructions or find a custom pattern just for you!